
As a new climber, most people put huge emphasis on building belays and all the skills required to go ‘up’ but thats only half the challenge! Having the skills to descend safely without leaving half your rack behind as you abseil is just as important.
This article looks at some different types of abseil anchor, both those you might need to build yourself and those you might find in-situ at a crag. For the purpose of brevity and clarity I’m not going to go into the setup of belay plates and prussiks for actually abseiling.
Have a go at building these anchors in a safe environment and at ground level and if you’re unsure about what you’re doing perhaps think about booking onto a self rescue or skills development course.
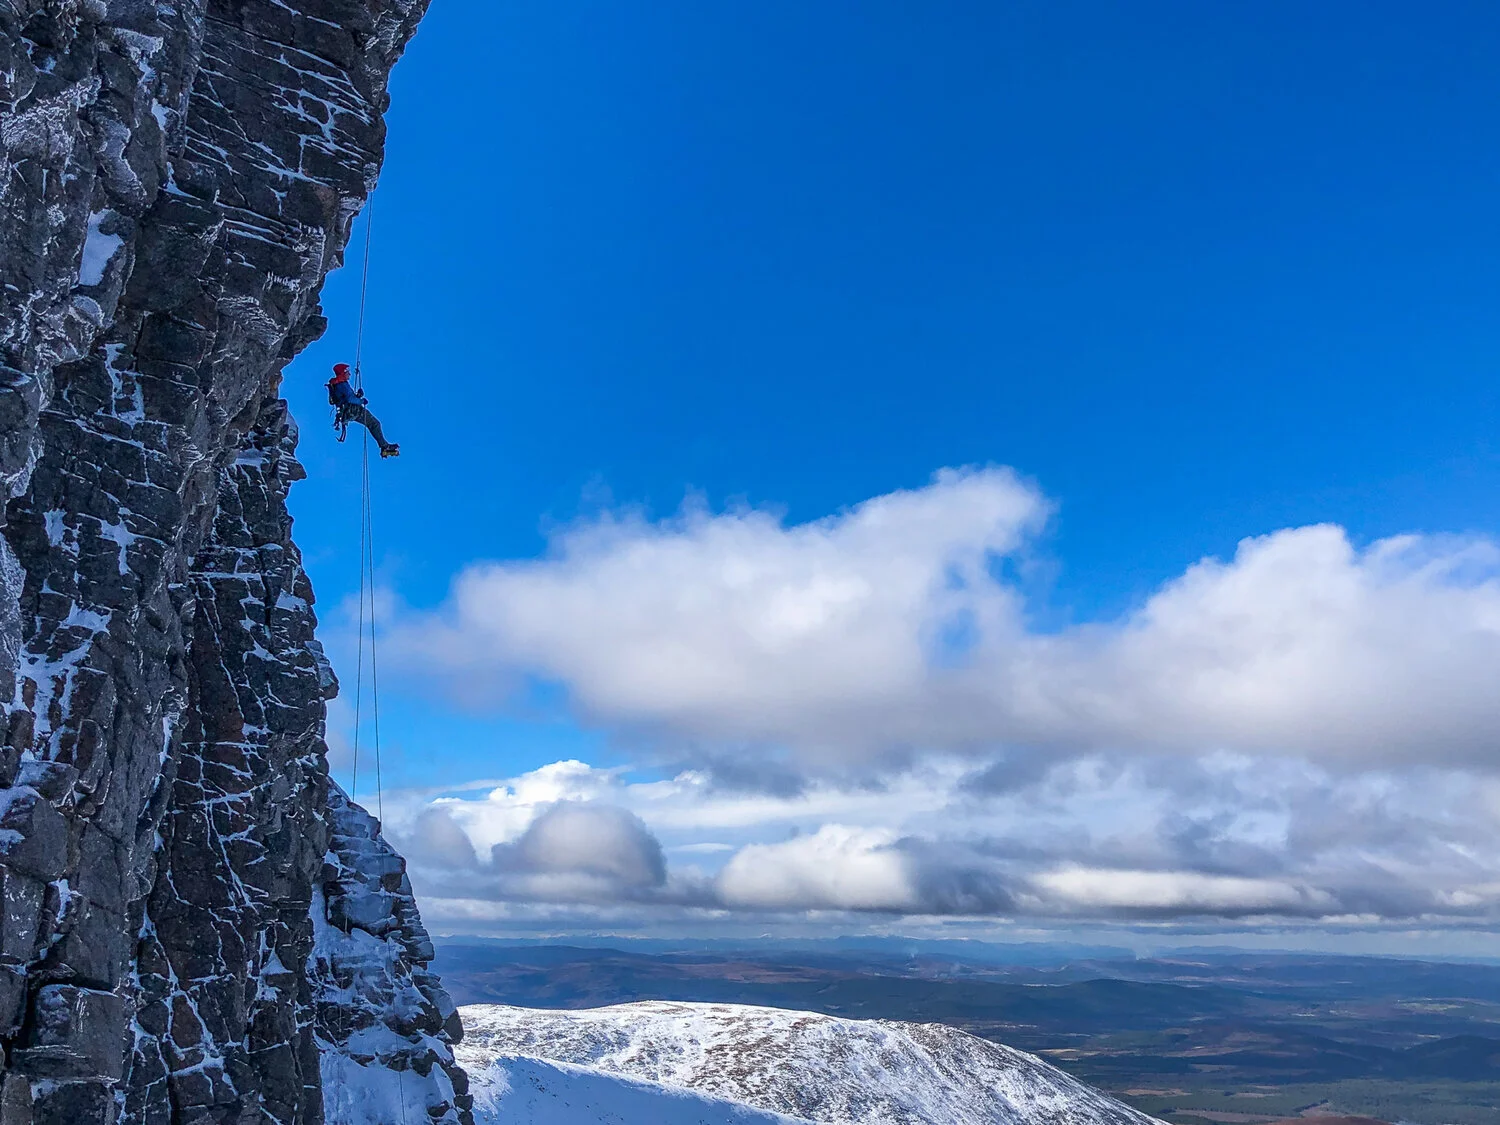
Matt Glen happily abseiling off the top of Fallout Corner (VI 7) in the Cairngorms.
Single Point Anchors (eg. Massive Spikes of Rock)
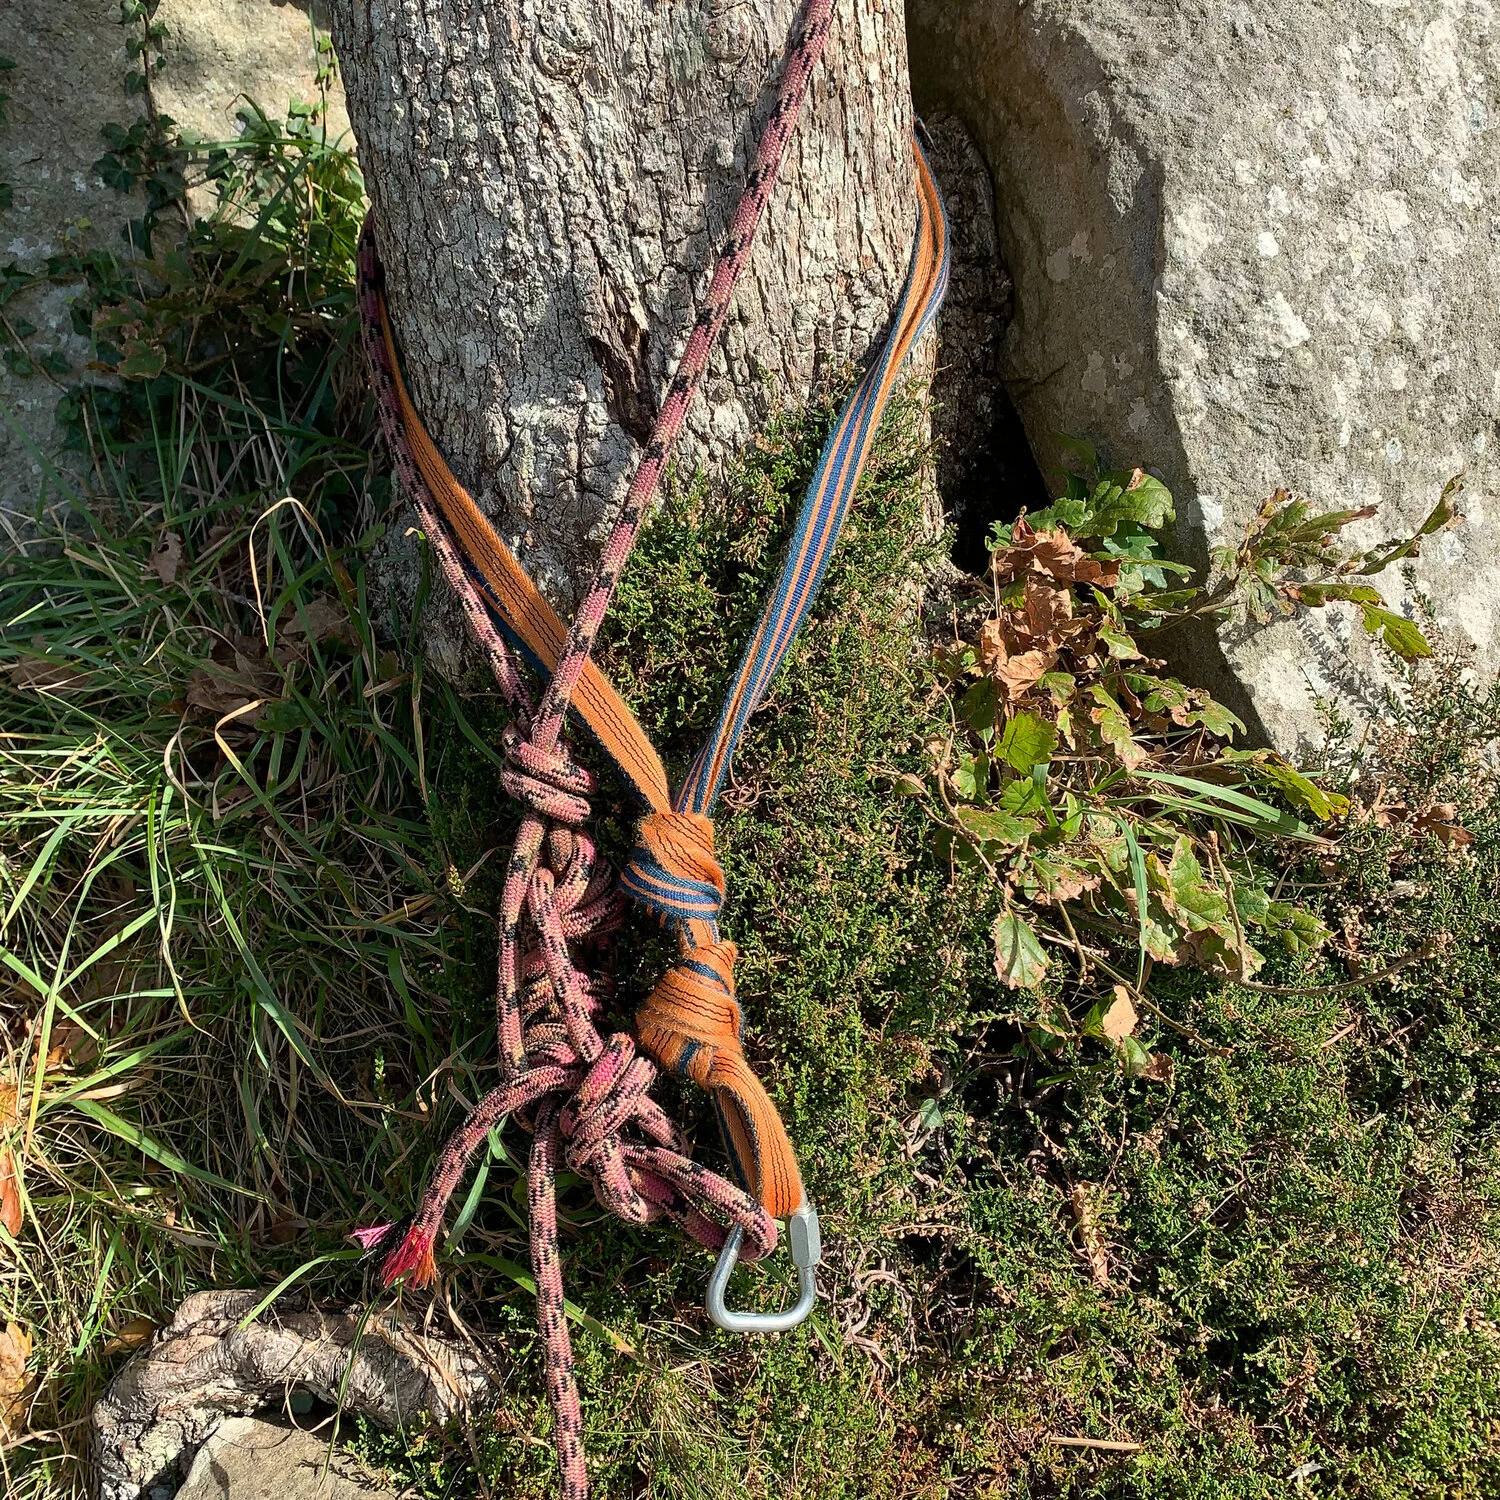
The first anchor I’m going to look at is a single point descent anchor built around an unquestionably strong anchor point. This could be a massive spike of rock, a huge tree, massive boulder, or a rock thread.
A piece of 6mm accessory cord can be tied around a spike with the abseil ropes tied through the loop. Set your belay plate and prussik and then you're ready to go! This is the easiest way to descend without leaving anything more than the 6mm cord behind. I usually tie 6mm cord for abseiling off with a double fishermans knot but an overhand knot with a long tail would also be fine.
The spike this loop is tied around should be part of the mountain and totally unquestionable in strength with no sharp edges where the cord is sitting. Make sure it is also a good pointy shape so there is no chance of the loop of cord coming off the top once it’s loaded.
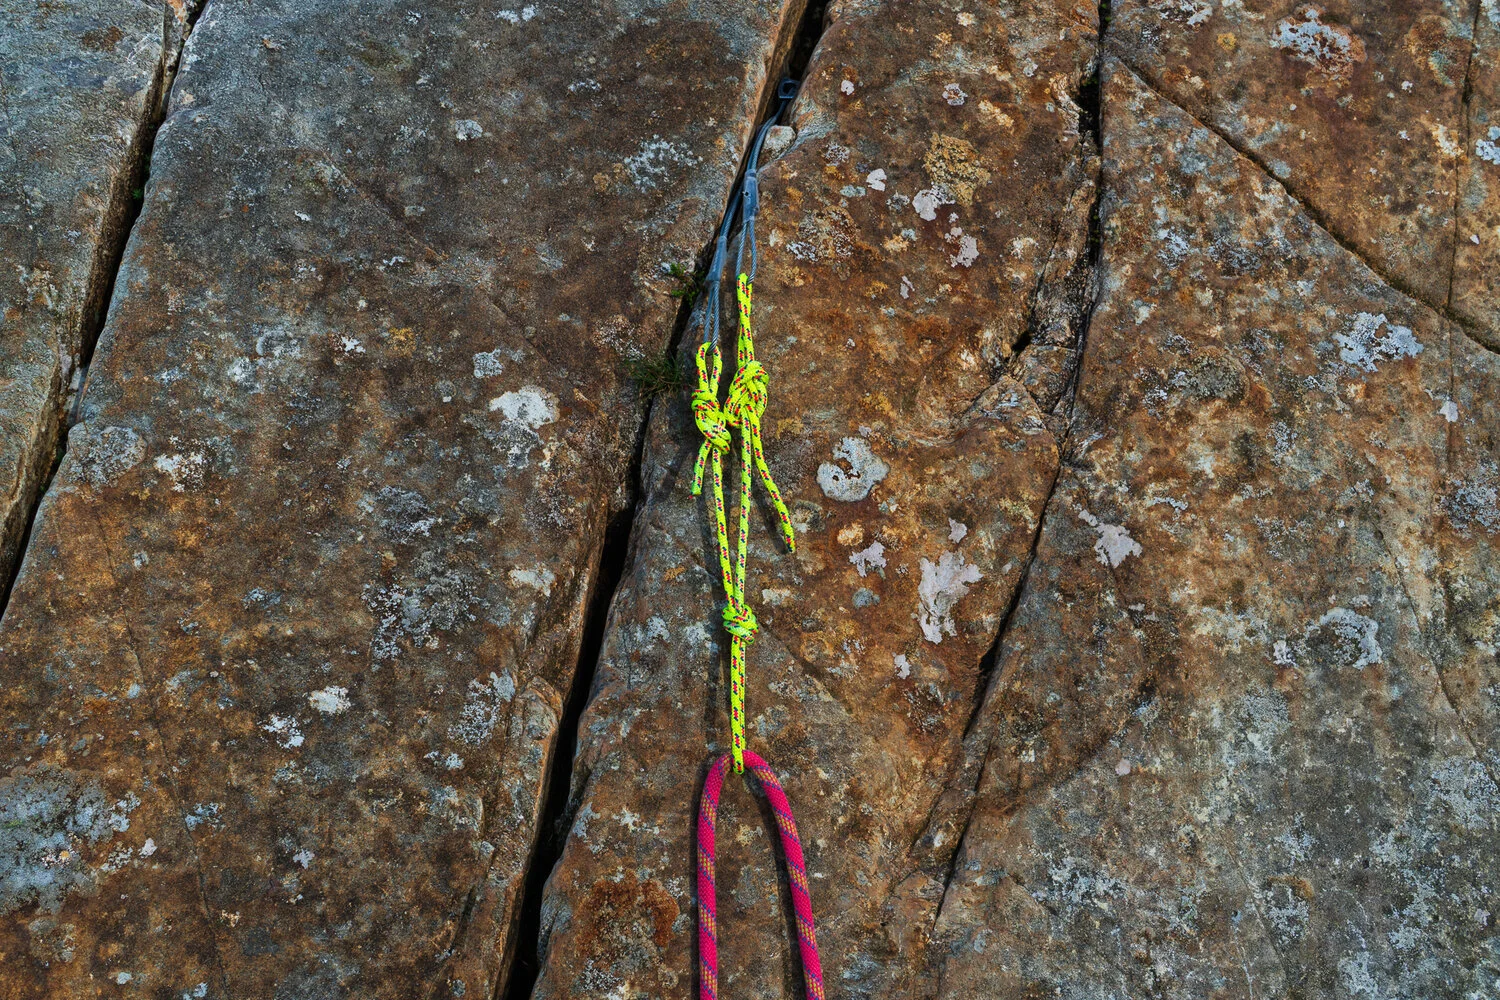
A basic descent anchor: 6mm cord tied in a loop and the rope threaded ready to abseil.
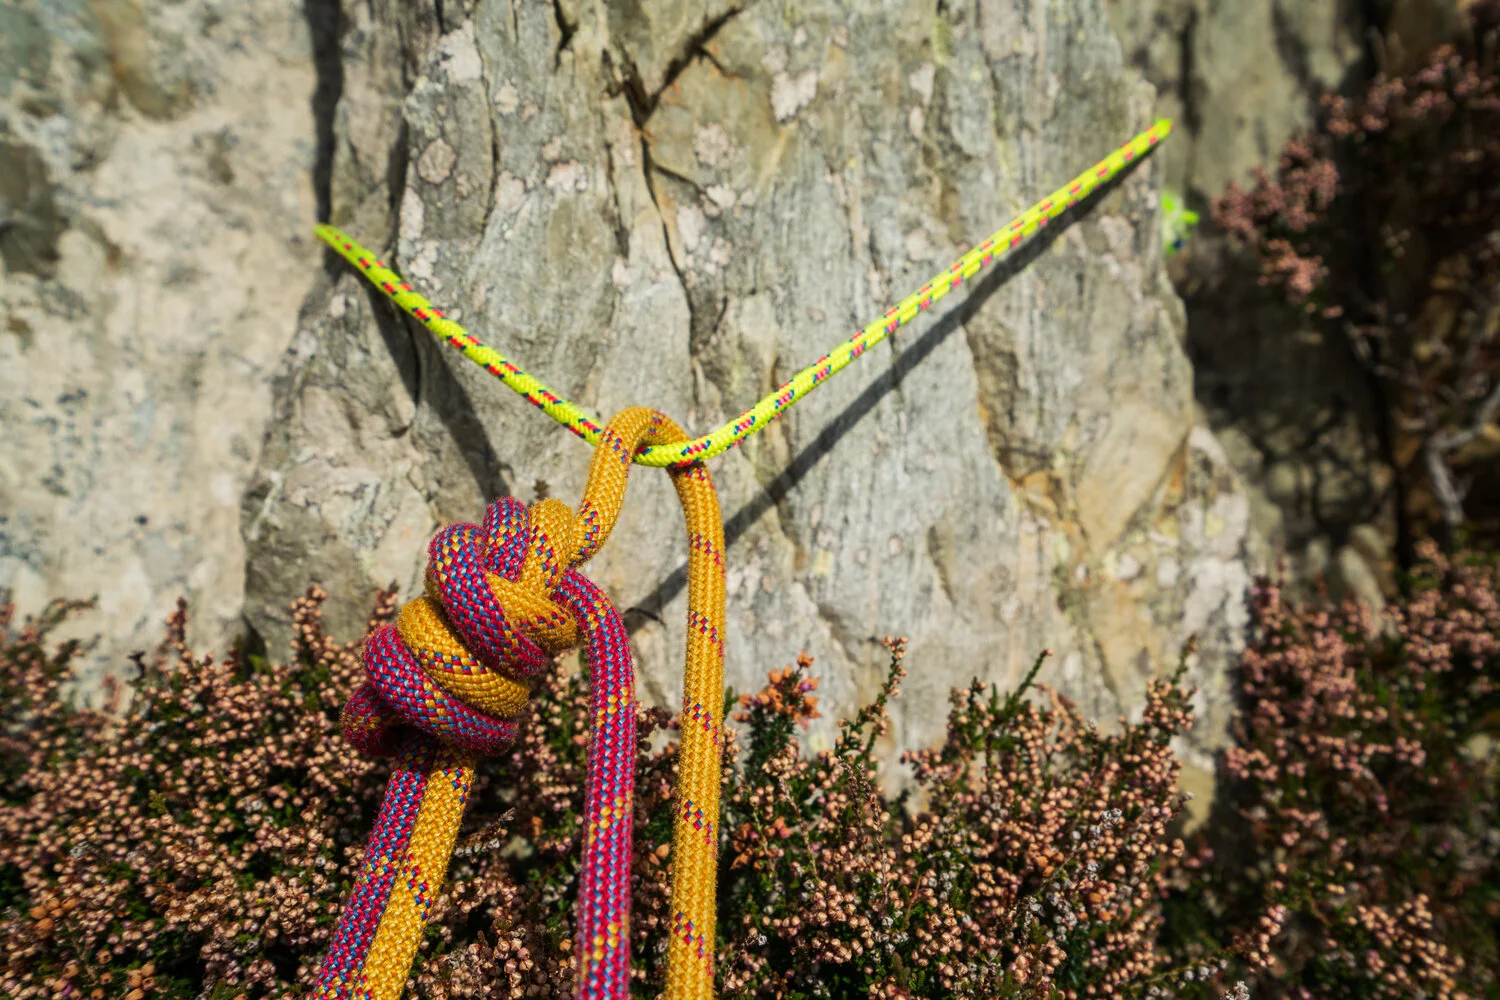
In the above picture, the pink and yellow climbing ropes have been joined with two overhand knots tied tightly against each other, with a 30-50cm tail. Set up an abseil method of your choice (remember to use a prussik! You do know how to use a prussik right?), abseil down and then pull down on the red rope to retrieve them.
It’s also worth remembering that the action of pulling your rope down after abseiling will wear the cord you’ve left behind. Whilst this isn’t a problem for you, it is a concern if you use in-situ cord to abseil off. If many people have used the same piece of cord to abseil off then the strength could be compromised.
Always check any in-situ cord before committing to an abseil and replace it if necessary. I usually carry 2.5m of 6mm cord for this eventuality.
Often abseil points in popular places will have a type of steel oval carabiner called a Maillon or an old screw gate on the cord. Threading the rope through this stops the wear on the cord from the friction of pulling the ropes through.
Another example of huge spike of rock, this time with an in situ abseil point and Maillon. In this photo, I’m belaying two clients in guide mode whilst attached to the anchor with a sling, ready to abseil. The ropes were pre-threaded through the Mallion once I was safe and before I started belaying to speed up the descent process.
Trees can also provide great single point anchors to abseil off. When assessing the quality of a potential tree anchor it is important to consider the size and health of a tree. A guideline for size is trunks of 20cm diameter or thicker than your thigh. Obviously, the bigger the better! The tree should look healthy, be growing somewhere where it can root deeply (eg. not in 10cm of sand at the top of the crag) and have no movement when you test the trunk in the direction it will be pulled.
A loop of rope can be tied around the trunk, the abseil ropes tied through the loop and then you’re set to descend.

A big solid oak tree with in-situ abseil tat.
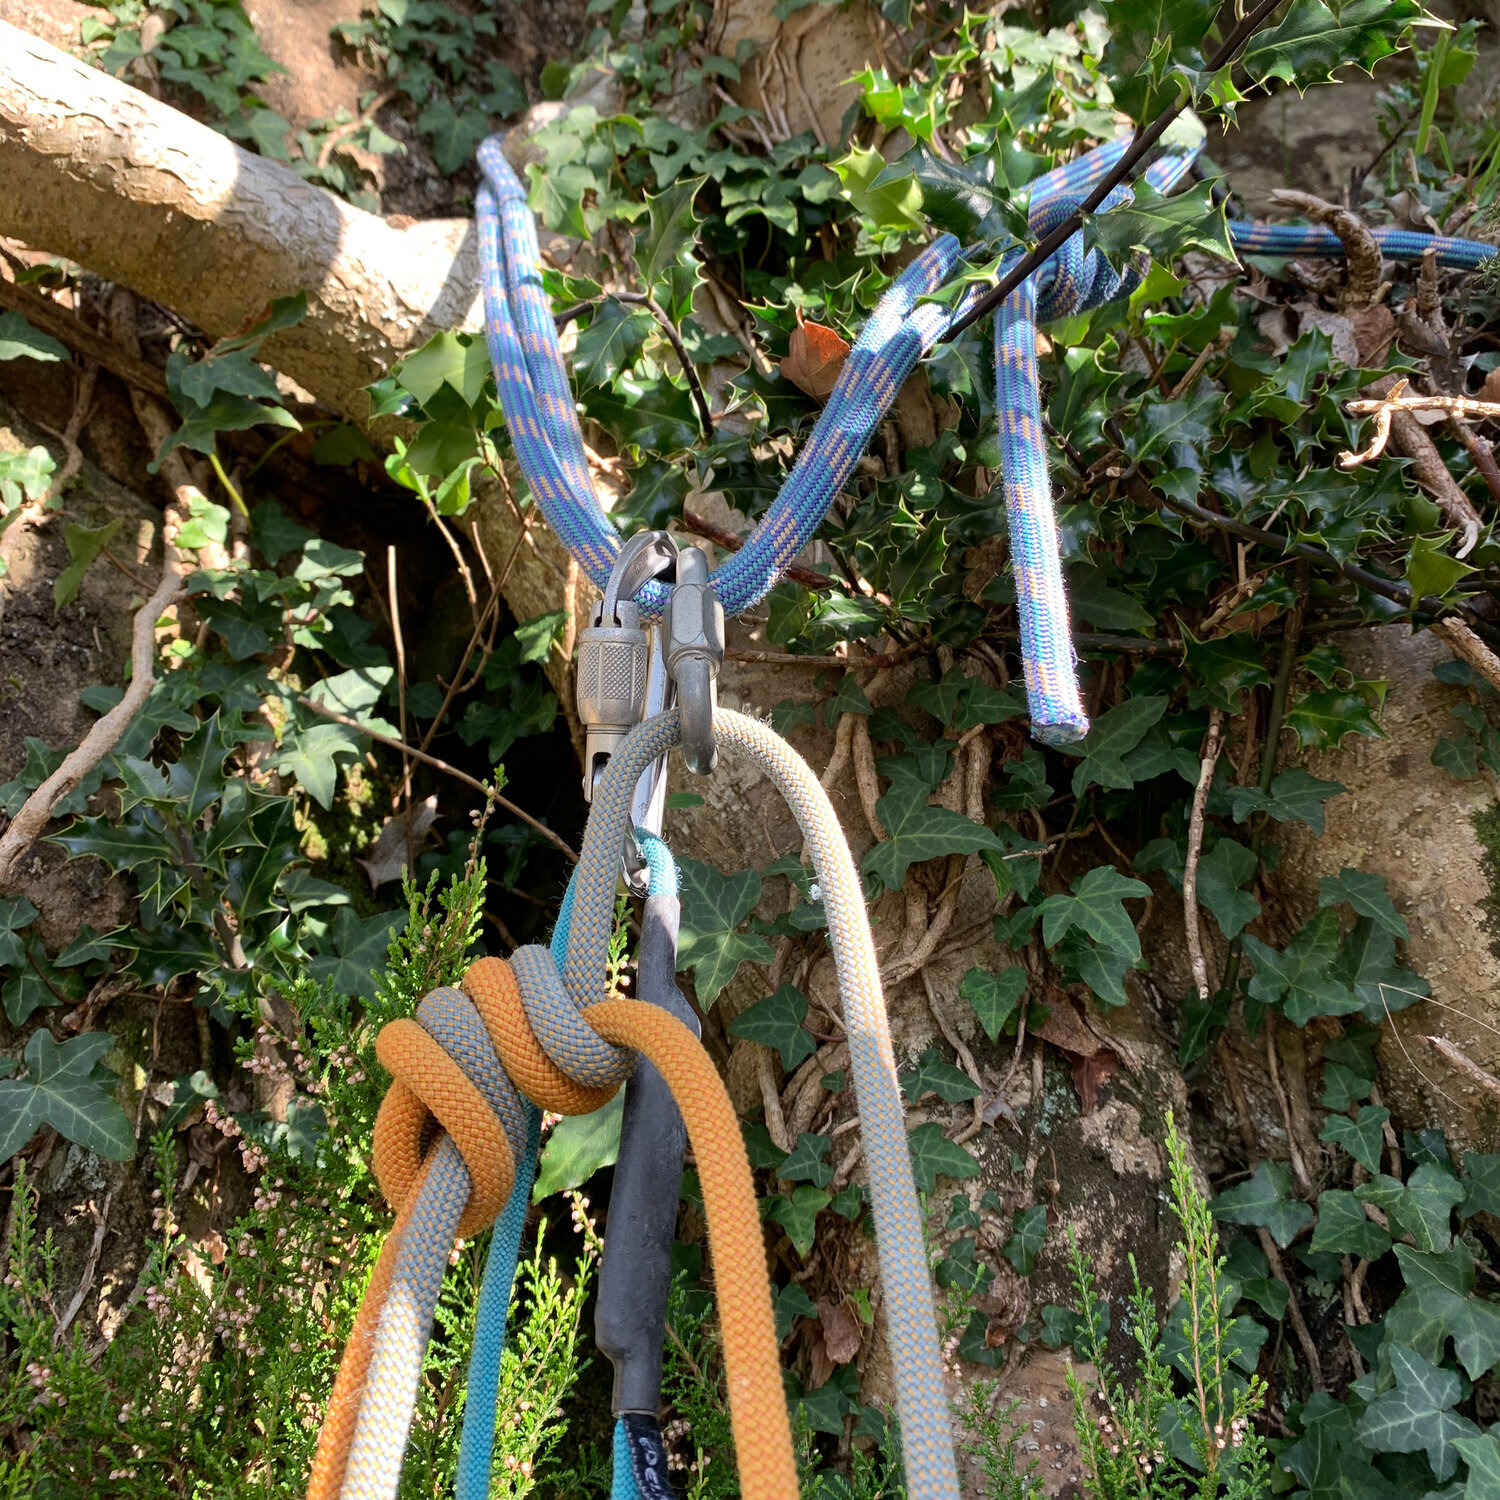
This single point anchor is a large healthy holly tree. This particular tree is often used as a descent anchor so the in-situ blue rope tied around the tree has a maillion in place to thread the ropes through, avoiding wear on the fixed rope from pulling the abseil ropes through. Again, the grey and orange ropes are joined with two overhand knots.
Multi Point Anchors
If there are no unquestionable single point anchors such as a really solid spike or healthy looking tree, it might be nesscecary to build a basic anchor out of a minimal amount of gear in order to abseil off.
Two wires equalised with 6mm cord as an abseil anchor.
For a gear anchor to abseil off, leaving the minimum safe amount behind is important. Firstly you don’t want to be abandoning your expensive rack needlessly and secondly, in the case of a long multi pitch abseil descent you might need to conserve your rack to ensure you have enough to build all the anchors you need.
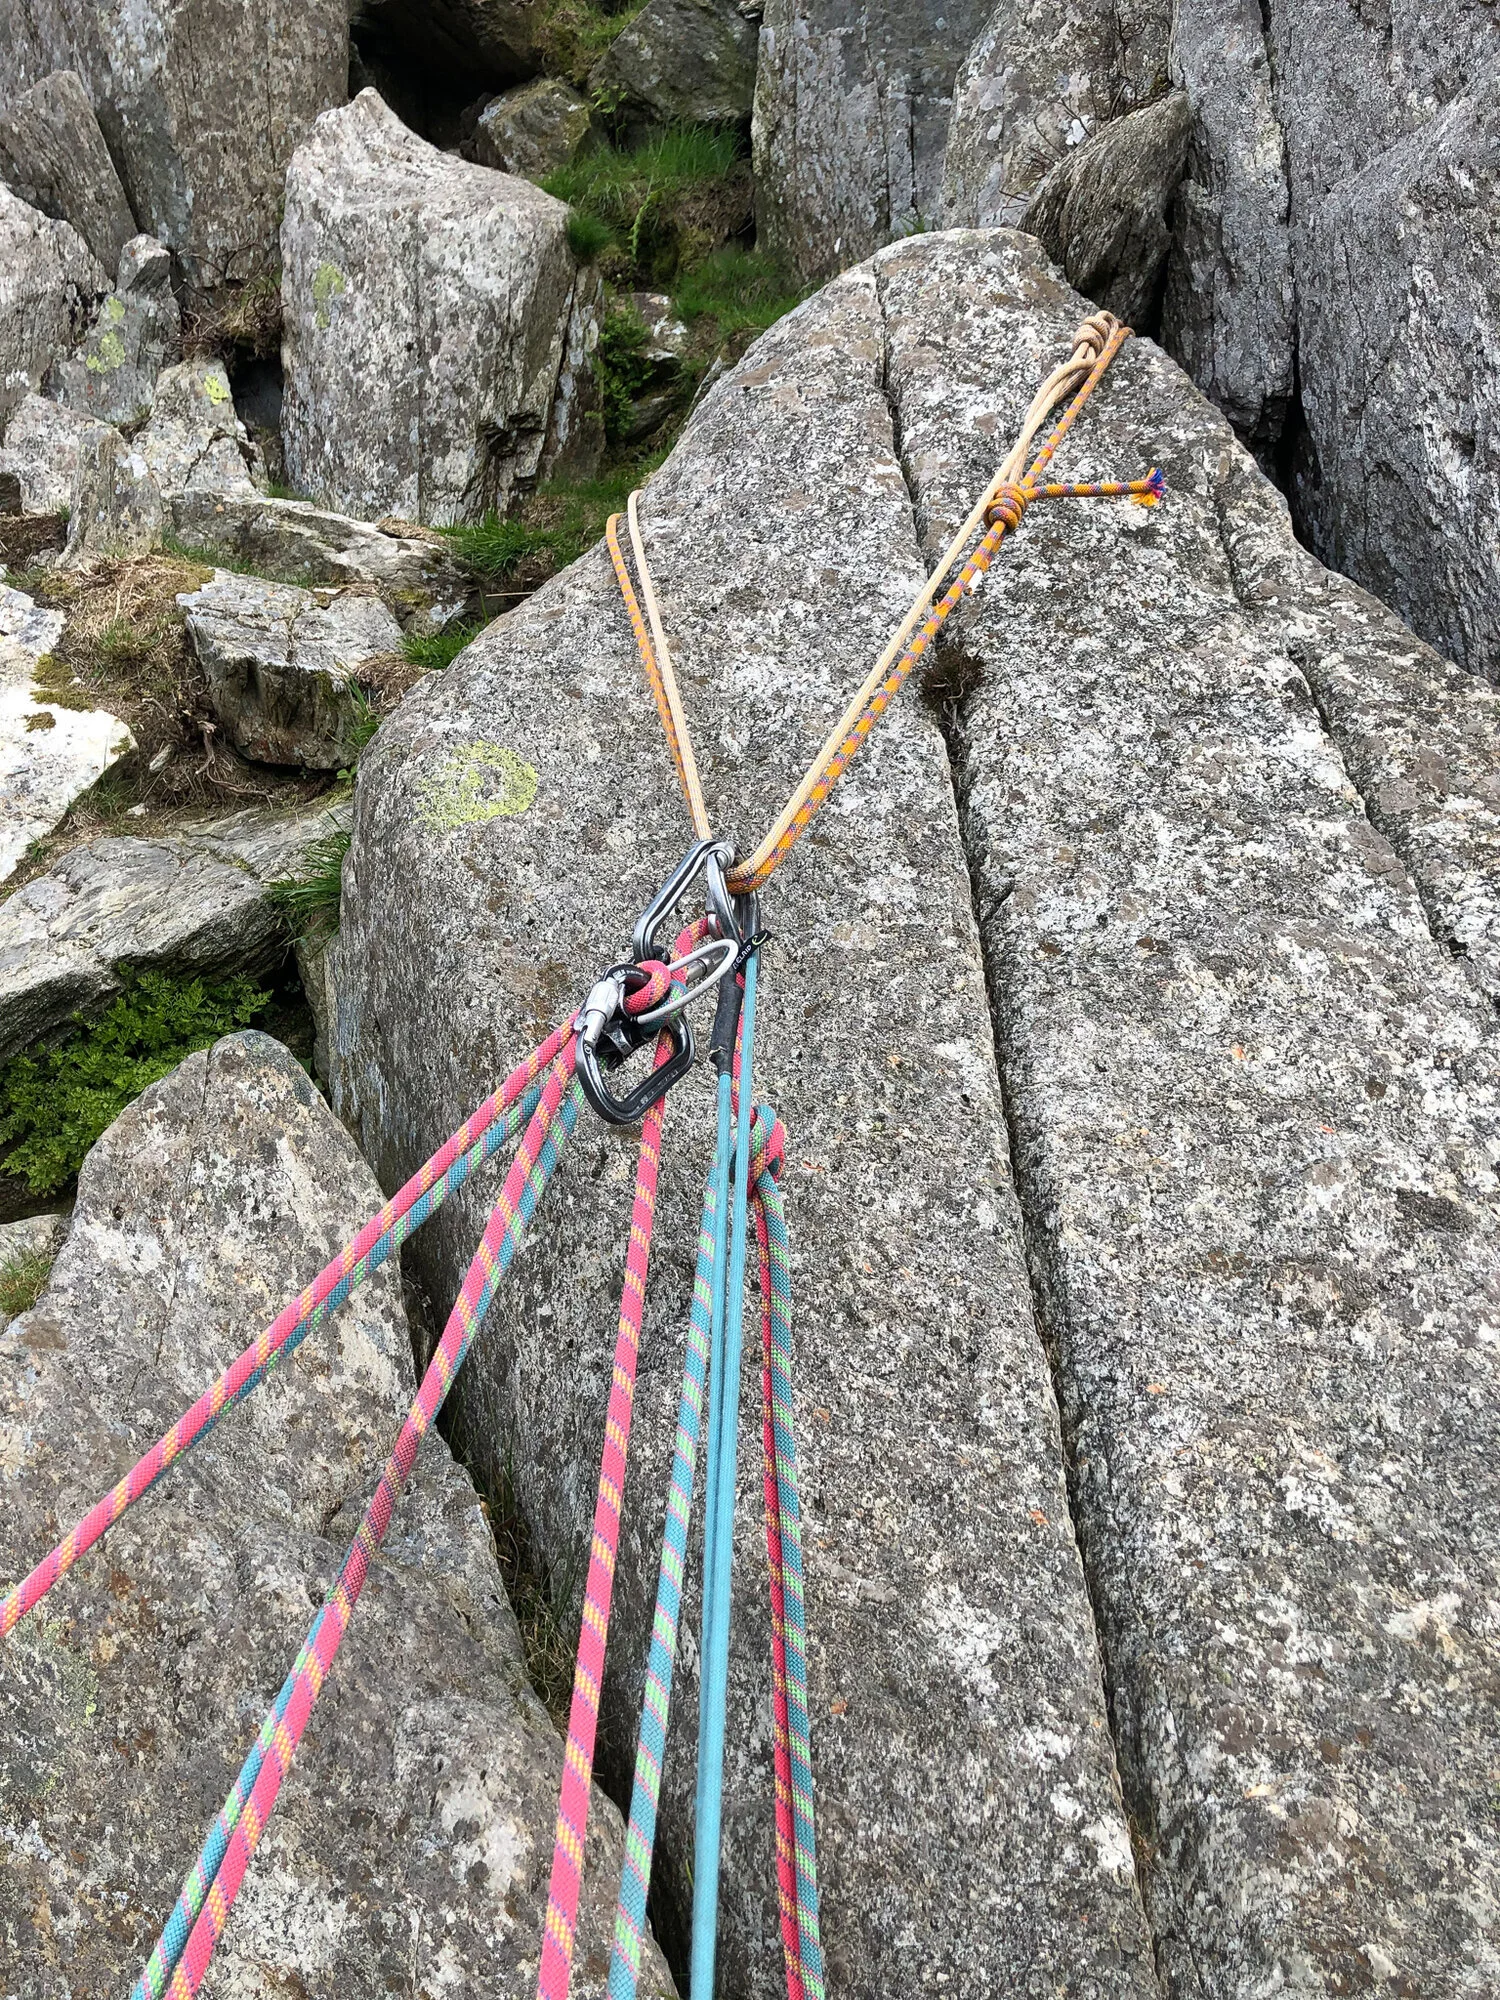
The example anchor above uses two wires and is a good example of a gear anchor to bail from. The two wires are both really well placed and in solid rock. A rethreaded figure of 8 has been used to attach some 6mm cord to the swaged loop on wires and then everything equalised with an overhand knot.
Here, a single climbing rope has then been threaded through the equalised master point to the middle mark, and is ready to be abseiled on. As with any abseil anchor with fabric touching fabric, pulling the ropes will wear away at the cord, so if you find any anchors like this, remember to check the state of the cord before using!
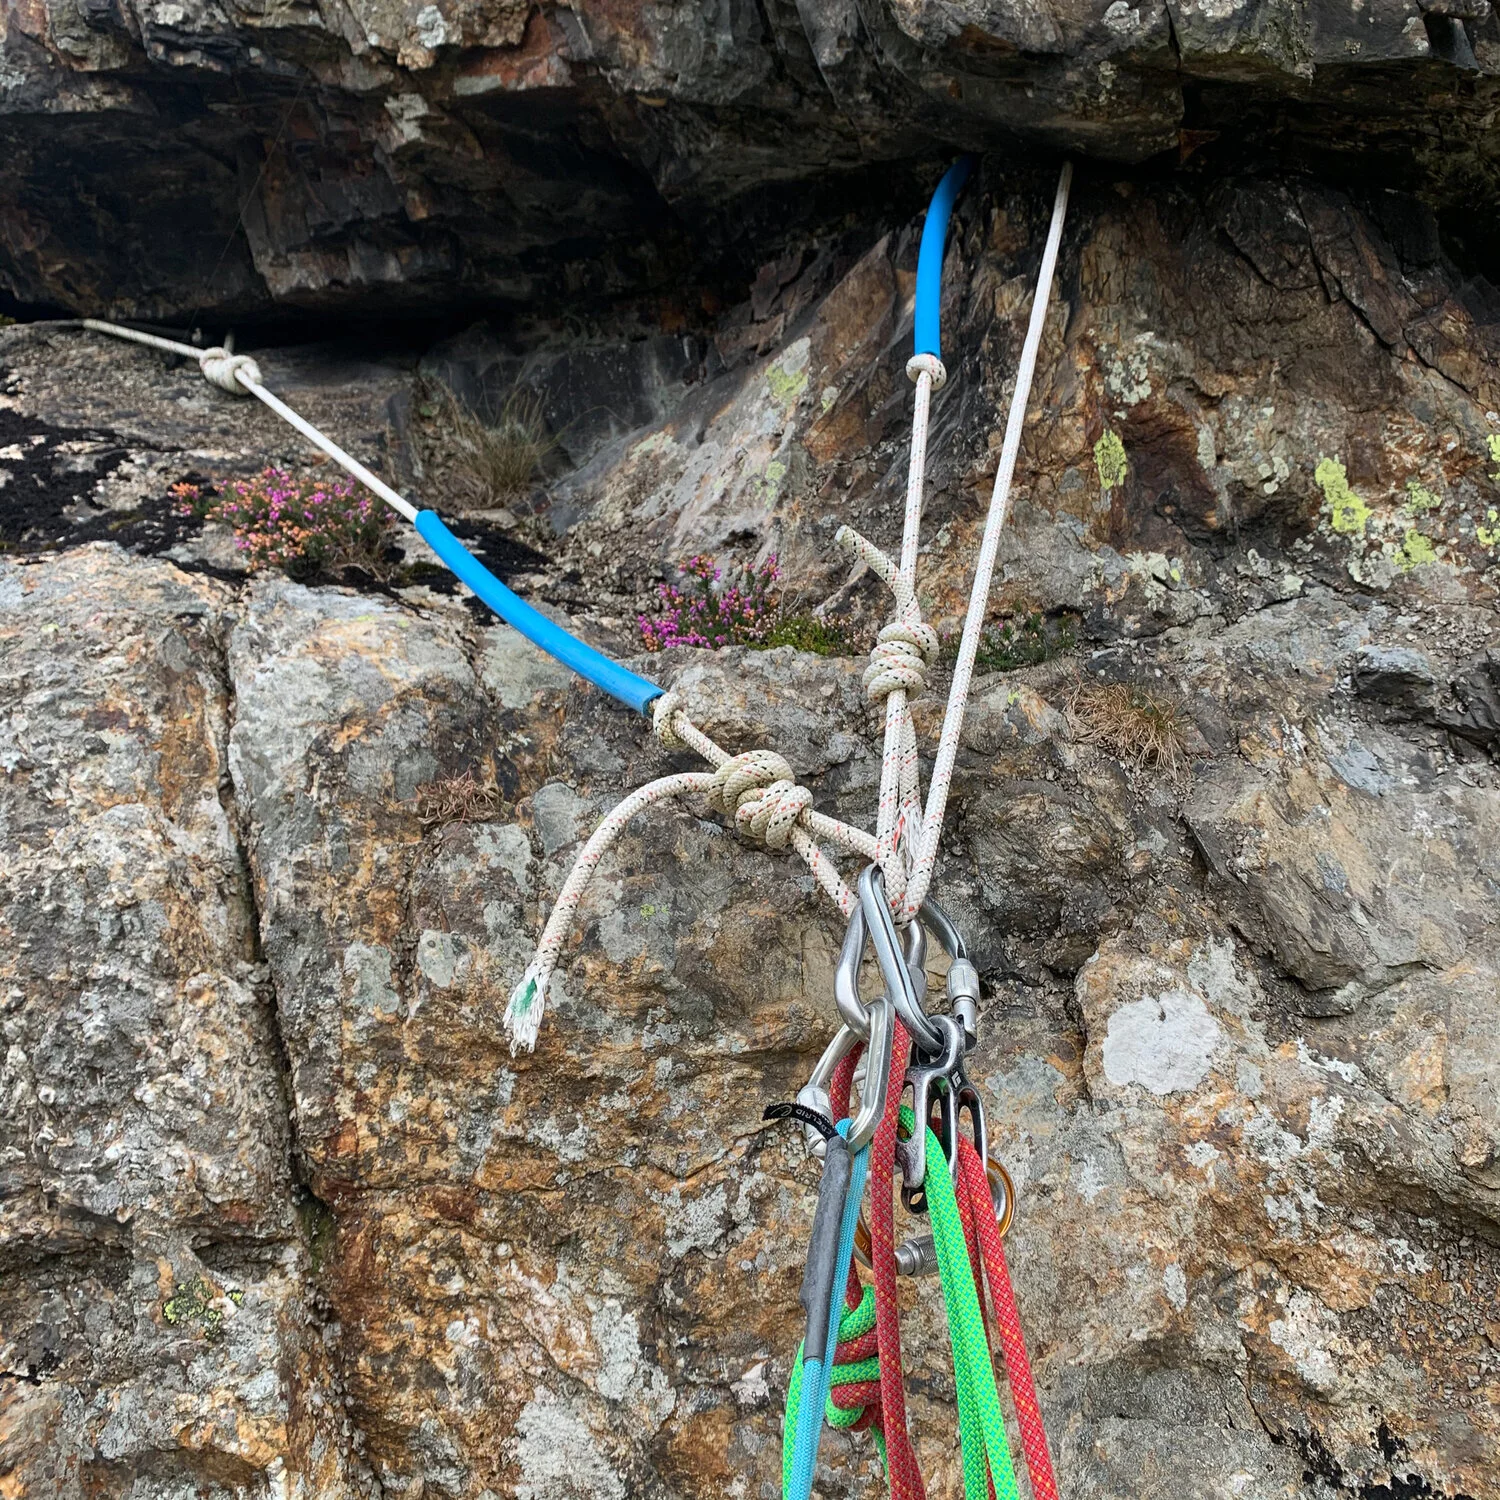
Another good example of an abseil station. Two rock threads equalised with a Maillion. The blue pipe is to protect the rope from wear against the rock. The rope here was threaded through the anchor as soon as I reached it, so that it’s ready to abseil on. I’ve made myself safe with the blue sling whilst belaying two clients in guide mode.
Want To See More?
Head over to Instagram and follow me @straightupadventures for more tips and tricks.
Not Sure What You're Doing?
Feel like you need some help with your climbing? Why not book onto a Learn to Lead or Self Rescue course and get some professional input on your anchor building, learn some new skills and take your climbing ropework to the next level (or hire me for a guided adventure where we probably won’t need to be doing any emergency abseils!).